In the world of manufacturing, particularly in highly regulated industries like pharmaceuticals, food, and health products, ensuring product purity and safety is paramount. A single contaminant or product mix-up can lead to costly recalls, regulatory penalties, and severe damage to brand reputation. This is where the critical process of packaging line clearance comes into play. It is the systematic procedure of verifying that a packaging line is completely free from all previous product materials, residues, and potential contaminants before the start of a new production run. This guide provides a comprehensive, step-by-step walkthrough of the process, a practical checklist, and industry best practices to ensure your operations are compliant, efficient, and safe.
The Critical Importance of Packaging Line Clearance
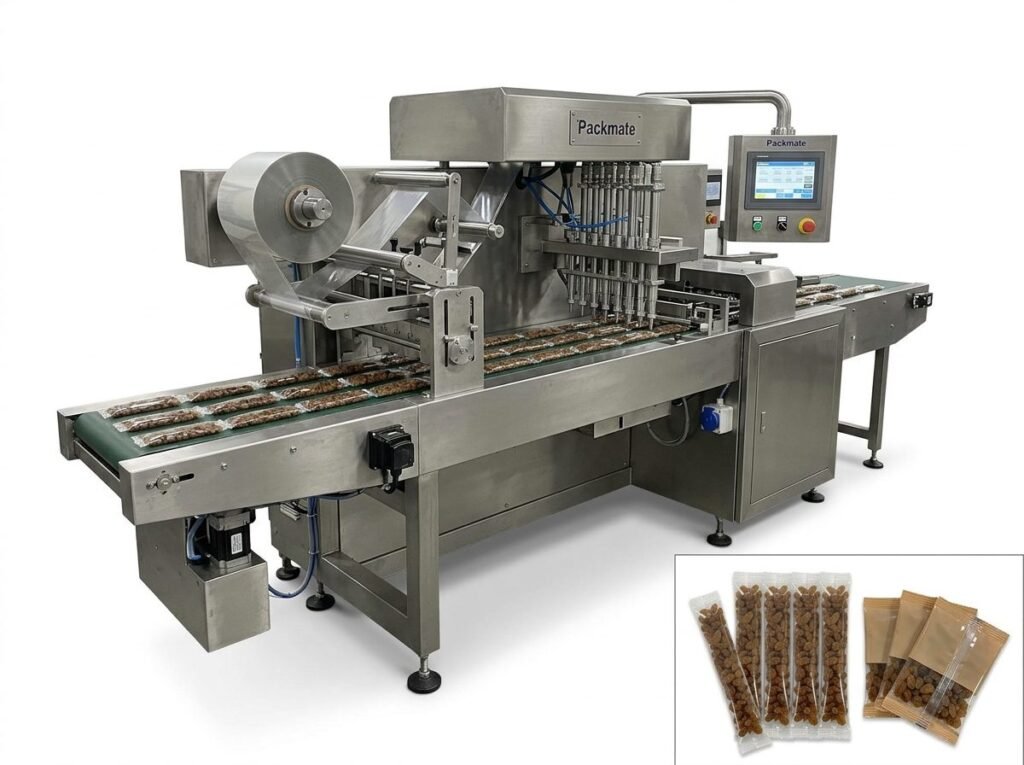
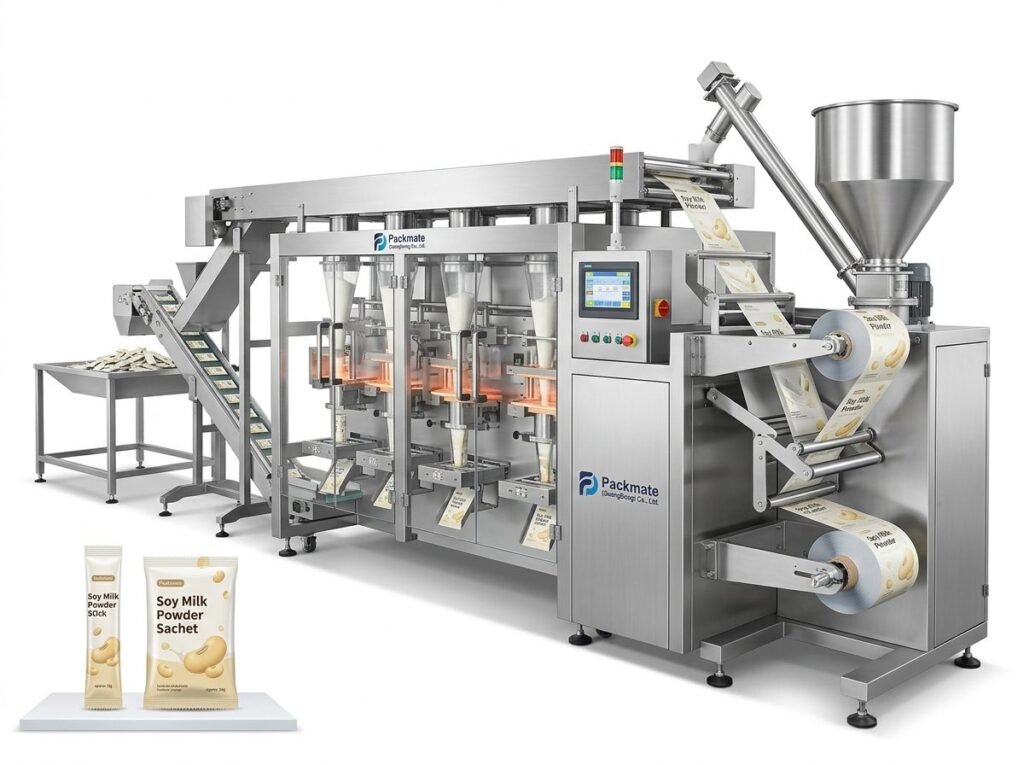
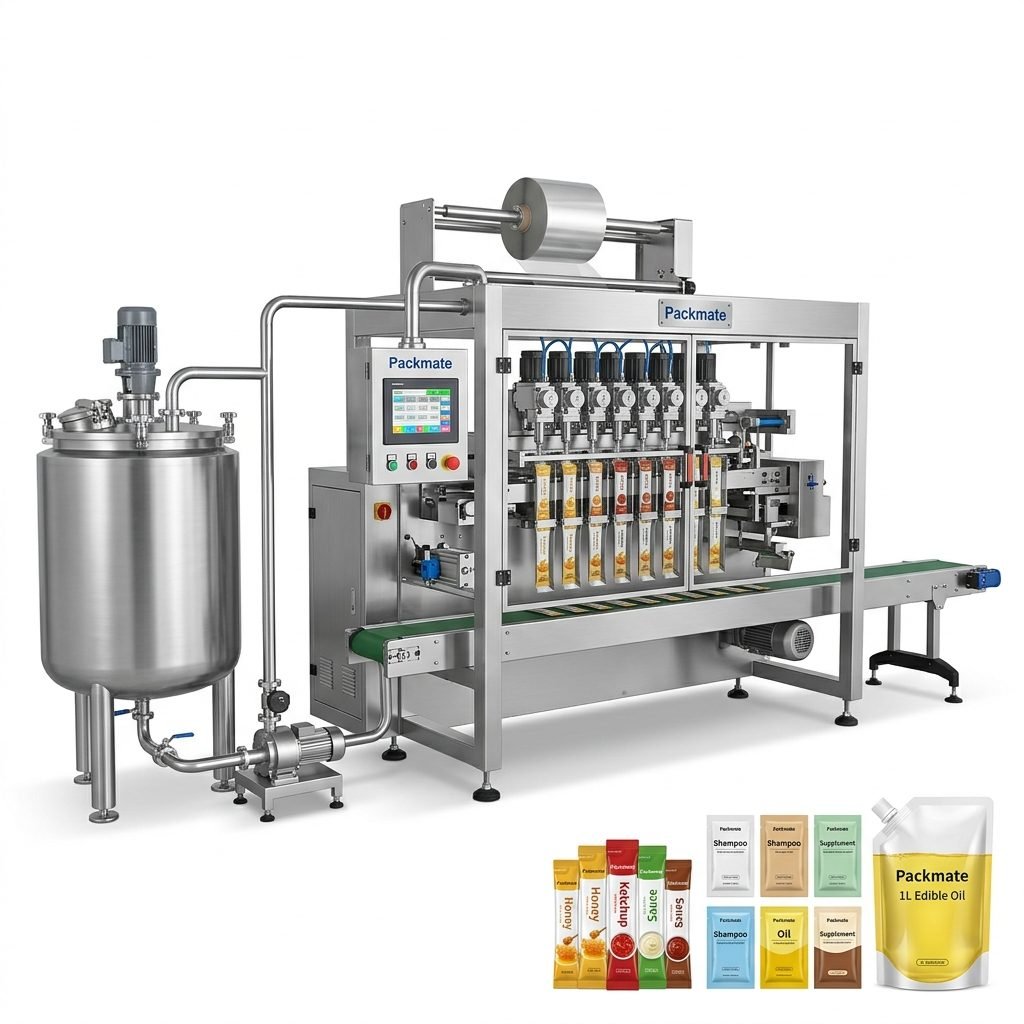
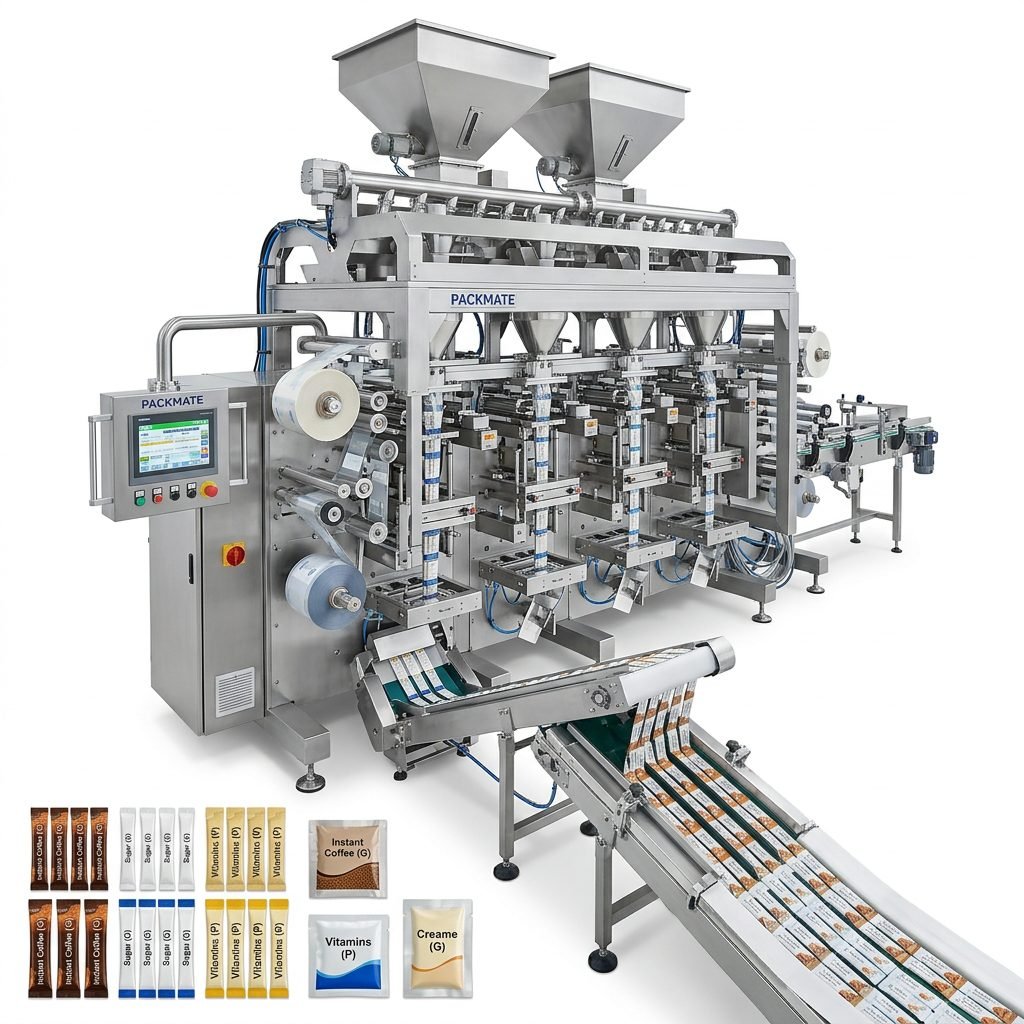
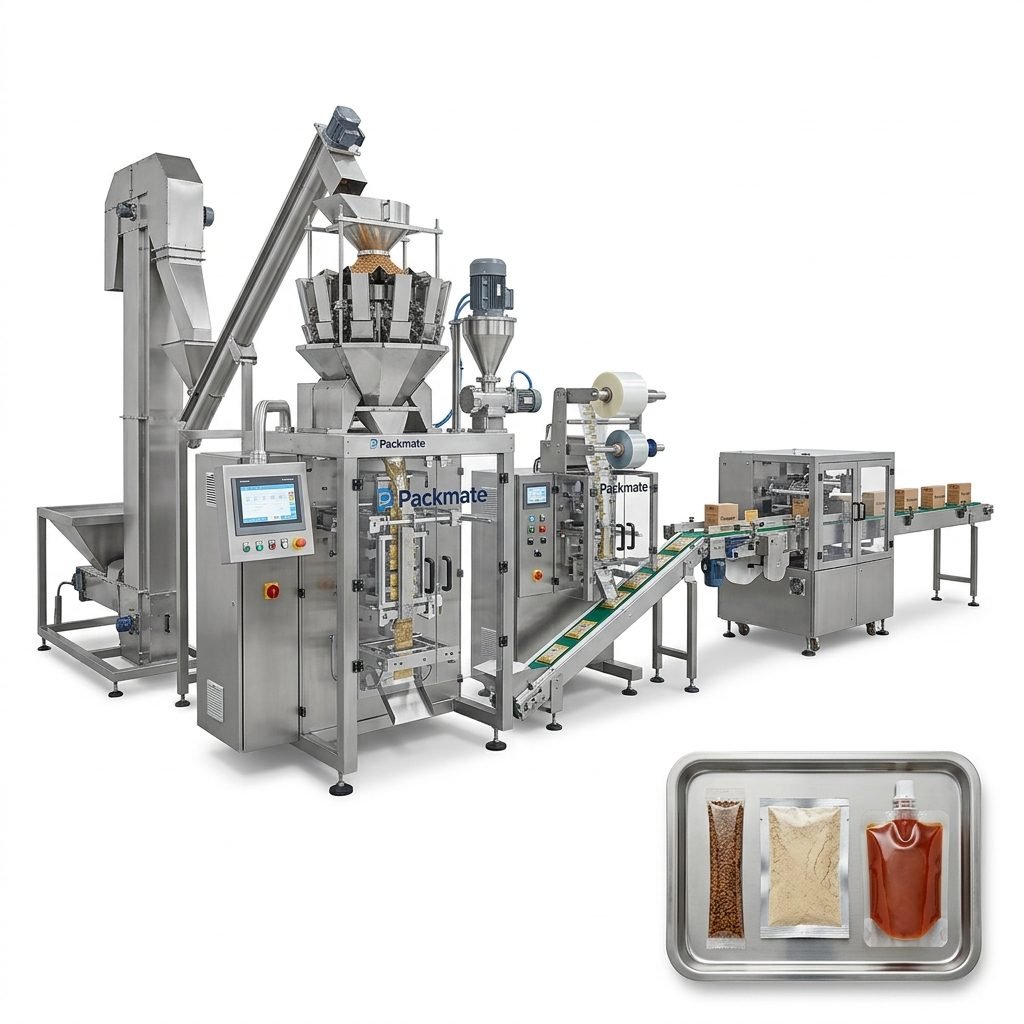
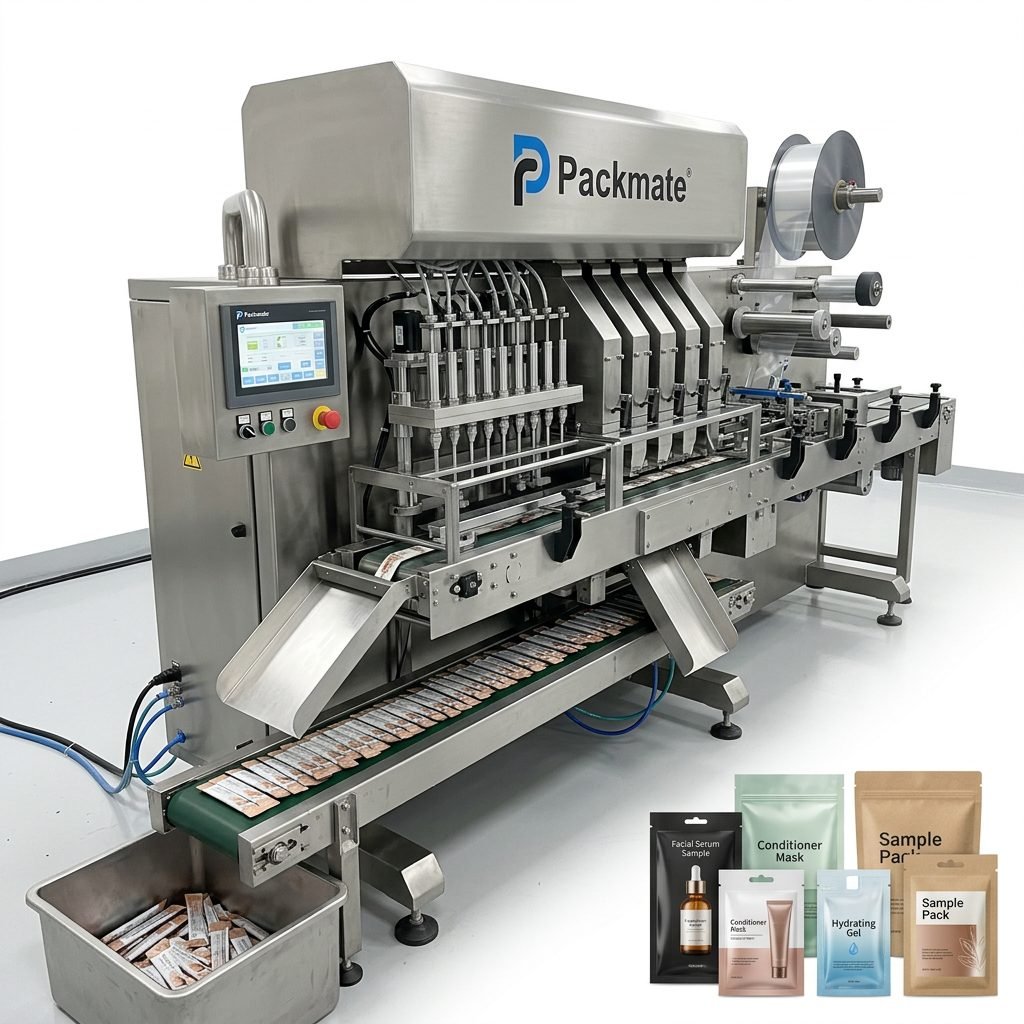
Packaging line clearance is not merely a recommended good practice; it is a fundamental requirement enforced by regulatory bodies such as the FDA (Food and Drug Administration) and EMA (European Medicines Agency) under Good Manufacturing Practices (GMP). Its primary goals are to prevent cross-contamination, ensure product identity, and guarantee the quality and safety of the final packaged product. For companies like Packmate (GuangDong) Co., Ltd., which designs intelligent packaging lines for sensitive industries, building clearance protocols into the line design is a key consideration. A well-executed clearance process protects the consumer, safeguards the manufacturer from legal and financial risk, and upholds the integrity of the supply chain.
Key Objectives of Line Clearance:
- Prevent Cross-Contamination: Remove all traces of the previous product, including powders, granules, liquids, or labels.
- Ensure Correct Product & Materials: Verify that the correct packaging components (films, labels, cartons) and product are staged for the run.
- Document Compliance: Create an auditable trail proving the line was fit for purpose before production began.
- Maintain Equipment Integrity: Confirm all machines are in good working order and settings are correct for the new product.
A Step-by-Step Guide to Effective Line Clearance
Following a standardized, documented procedure is essential for consistency and compliance. Here is a detailed step-by-step guide to a robust packaging line clearance process.
Step 1: Initiation and Documentation Review
The process begins with an authorized personnel, typically a line supervisor or quality officer, initiating the clearance procedure. The first action is to review the relevant documentation for the upcoming product run. This includes the Batch Production Record (BPR), packaging instructions, and bill of materials. This review ensures everyone understands the specific requirements for the product about to be packaged.
Step 2: Physical Removal of Previous Materials
This is the most visible step. All leftover components from the previous batch must be removed from the line area. This includes:
- Unused packaging film reels, sachet rolls, or stick pack materials.
- Leftover labels, leaflets, and cartons.
- Any partial containers of product (granules, powder, liquid) in hoppers, feeders, or intermediate holding areas.
- Sample containers and waste from the previous run.
These materials should be clearly identified, logged, and returned to storage or disposed of according to standard operating procedures (SOPs).
Step 3: Thorough Cleaning and Decontamination
After bulk removal, a detailed cleaning of all product-contact parts and adjacent areas is performed. The cleaning method (e.g., wet clean, dry wipe, vacuum) should be defined in an SOP and be appropriate for the product residues. Key areas include:
- Product Hoppers and Feeders: Must be emptied, disassembled if necessary, and cleaned.
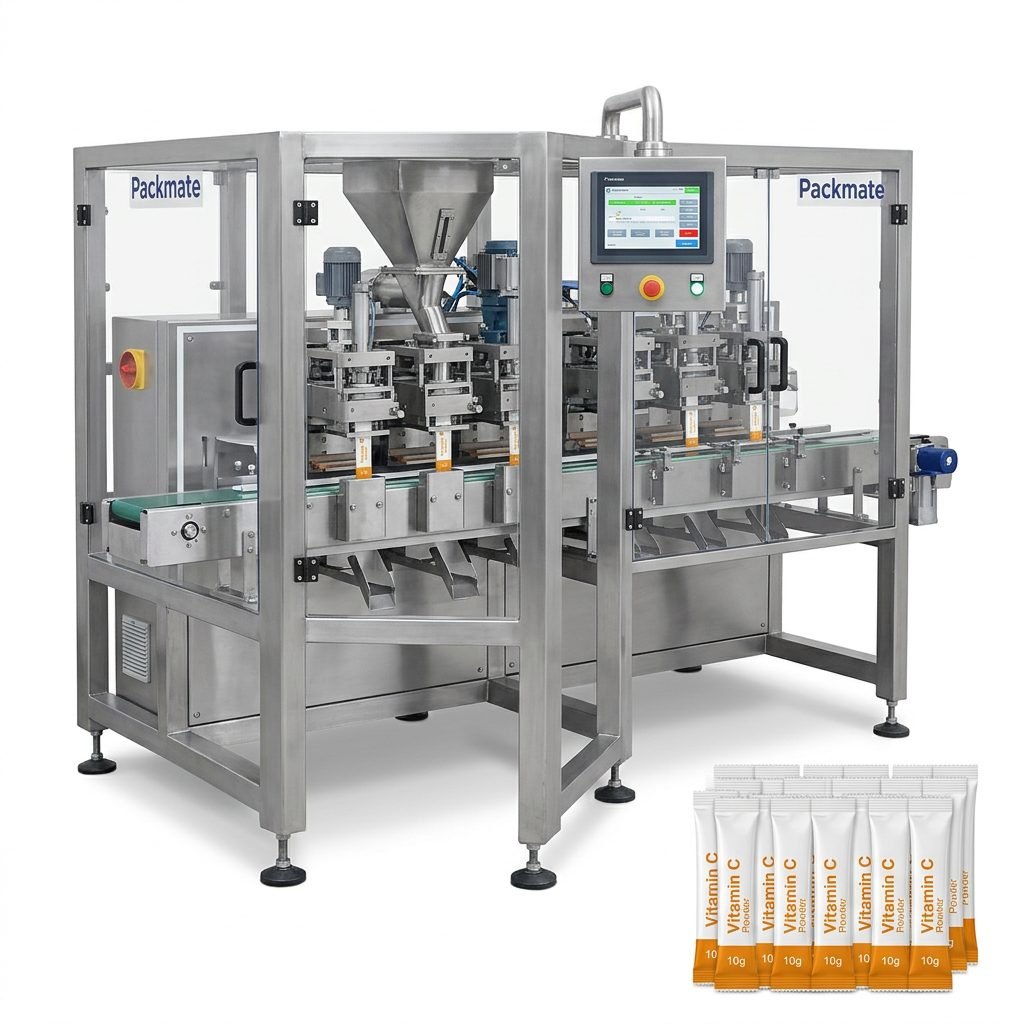
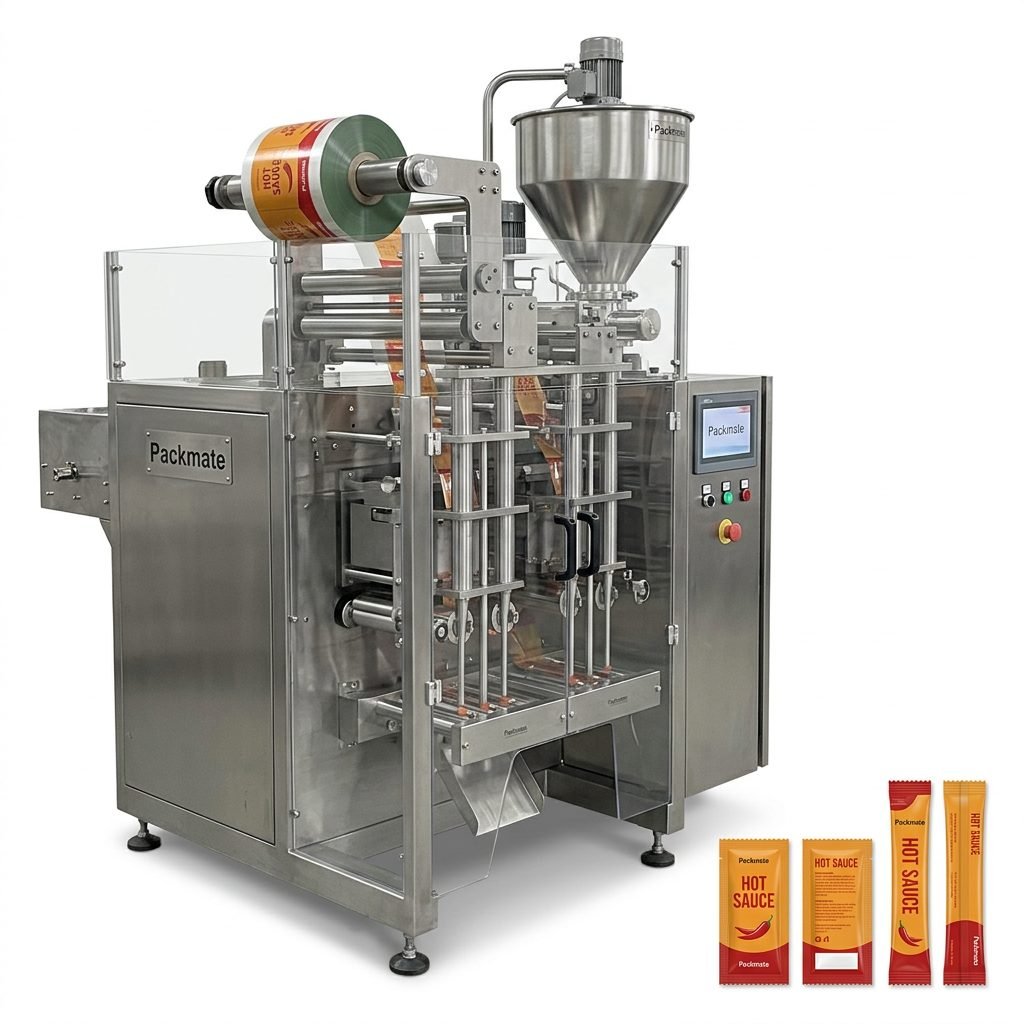
- Forming Tubes and Filling Nozzles: Critical points where residue can accumulate.
- Conveyor Belts and Guides: Wiped down to remove dust and particles.
- Sealing Jaws and Cutters: Cleaned to prevent burnt residue transfer.
- Surrounding floors, walls, and work surfaces.
Step 4: Verification and Inspection
Once cleaning is complete, a visual inspection is conducted by a qualified person, independent of the cleaning crew if possible. They check for any visible residue, dust, or leftover materials. For higher-risk products, swab testing of critical surfaces may be required to detect microscopic contamination. The inspection should be methodical, covering every zone of the packaging line.
Step 5: Setup for the New Product
With the line confirmed clean, setup for the new production begins. This involves:
- Loading the correct, approved packaging materials.
- Adjusting machine parameters (e.g., fill volume, sealing temperature, speed) as per the new product’s specifications.
- Installing the correct change parts, like forming collars or filler pumps, if required.
Modern lines from providers like Packmate often feature digital parameter recall, which aids in accurate and rapid changeovers. You can explore various packaging solutions designed with cleanability in mind.
Step 6: Final Verification and Authorization
Before the “Run” button is pressed, a final verification is performed. This double-checks that:
- The line is clean (Step 4 verification is signed off).
- The correct materials are loaded (verified against the bill of materials).
- Machine settings are correct (verified against the packaging instructions).
Once satisfied, the supervising quality personnel authorizes the start of production by signing the line clearance record. This document is a vital part of the batch documentation.
Essential Packaging Line Clearance Checklist
Use this checklist as a template to ensure no step is missed. Adapt it to your specific line and products.
Pre-Clearance
- ✅ Previous batch production is complete and documented.
- ✅ Line clearance procedure/SOP is available and understood.
- ✅ Required cleaning tools and materials are ready.
Clearance Execution
- ✅ All previous product and packaging materials removed from line and zone.
- ✅ Product contact parts (hoppers, feeders, nozzles, tubes) cleaned and inspected.
- ✅ Non-contact parts (guards, frames, conveyors) cleaned of dust/debris.
- ✅ Area around the line (floor, tables) cleaned.
- ✅ Waste from previous run properly disposed of.
- ✅ Visual inspection passed (and swab tests, if required).
Post-Clearance Setup
- ✅ Correct new packaging materials staged and verified.
- ✅ Correct machine settings (fill weight, temp, speed) installed and verified.
- ✅ Correct change parts installed, if needed.
- ✅ All safety guards are back in place.
Documentation & Release
- ✅ Line clearance checklist completed and signed by operator.
- ✅ Independent verification and signature by quality/supervisor obtained.
- ✅ Clearance documentation attached to the new Batch Production Record.
Best Practices for a Robust Clearance Program
Moving beyond the basic steps, these best practices will elevate your line clearance from a compliance task to a cornerstone of quality culture.
1. Invest in Clearance-Friendly Equipment Design
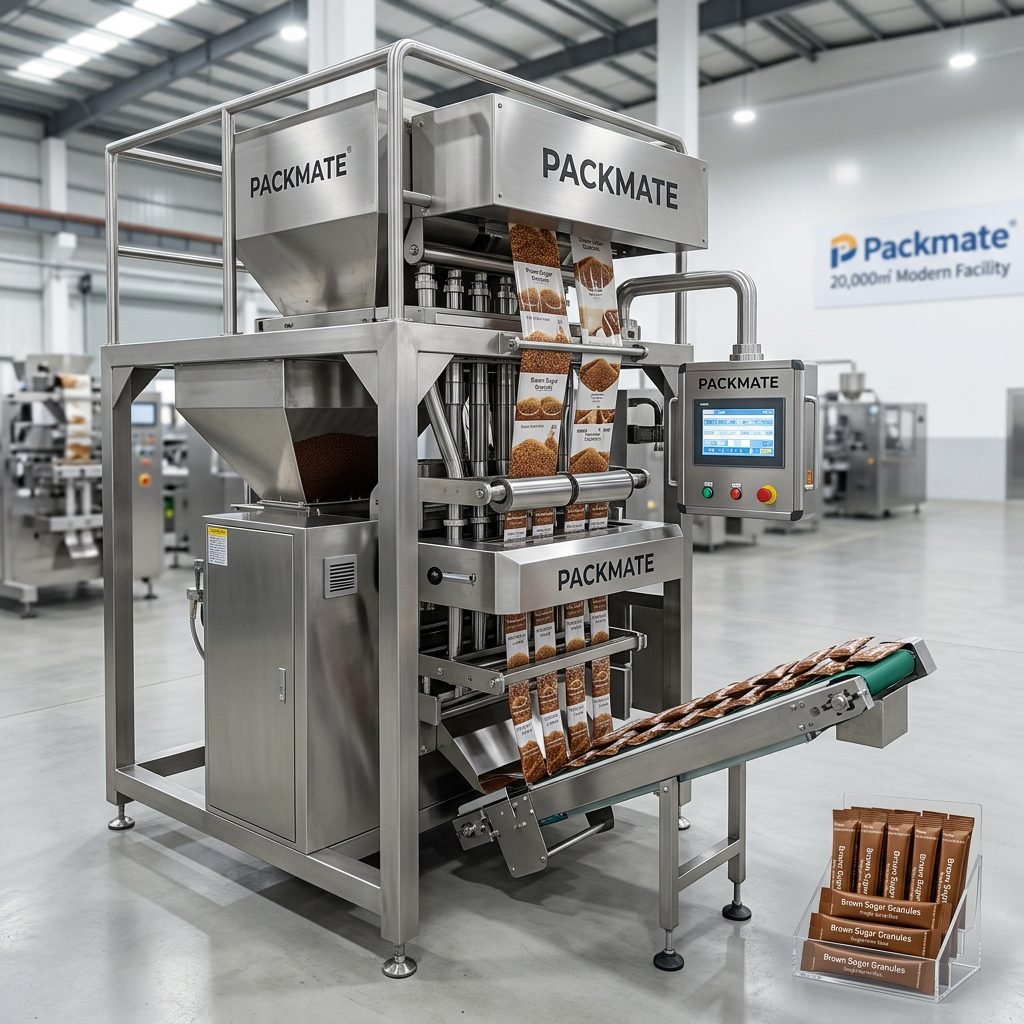
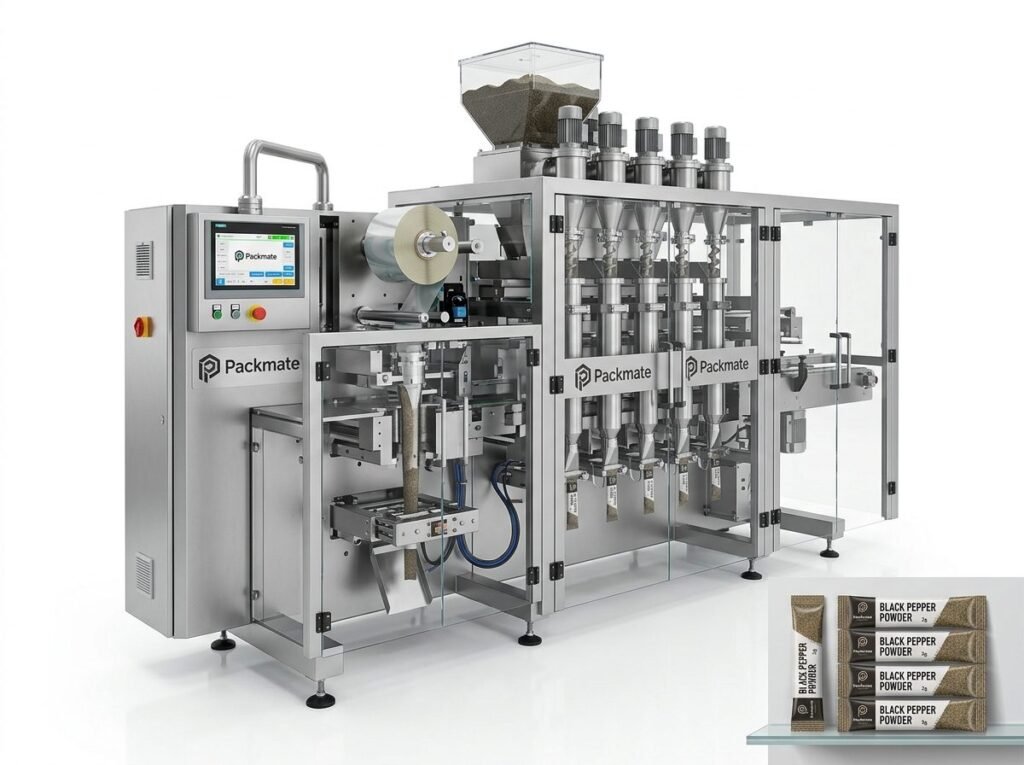
Choose packaging machinery designed for easy cleaning and quick changeover. Features like tool-less disassembly, smooth stainless-steel surfaces, accessible interiors, and CIP (Clean-in-Place) systems drastically reduce clearance time and error. Leading manufacturers prioritize this design philosophy. Reviewing real-world application cases can provide insights into effective line layouts.
2. Implement a “Right-First-Time” Cleaning Culture
Clearance is only as good as the cleaning performed. Train operators thoroughly on SOPs, emphasizing why each step matters. Use clear diagrams and photos in work instructions to define “clean.” Consider color-coded cleaning tools for different zones or product types to prevent mix-ups.
3. Leverage Technology and Digital Tools
Move from paper checklists to digital systems where possible. Electronic batch records (EBR) and Manufacturing Execution Systems (MES) can guide operators through clearance steps, enforce sequence, prevent steps from being skipped, and automatically archive records. This enhances data integrity and traceability.
4. Define Clear “Zone” Responsibilities
For complex lines, divide the clearance process into logical zones (e.g., feeding zone, forming/filling zone, cartoning zone). Assign specific personnel to each zone, making verification more manageable and accountable.
5. Conduct Regular Audits and Continuous Improvement
Periodically audit the clearance process. Watch an operator perform it, review completed records, and look for trends or deviations. Use these audits not for blame, but to identify opportunities for improving the SOP, training, or equipment design. A strong after-sales service partnership can also support ongoing line optimization.
Common Questions (FAQs) on Packaging Line Clearance
Q1: How often should packaging line clearance be performed?
A: Clearance is mandatory between different product batches. It is also required after a significant maintenance intervention, after a prolonged line stoppage, or when there is any suspected contamination. The specific rules should be defined in your company’s validated procedures.
Q2: Who is responsible for performing and authorizing line clearance?
A: Typically, production operators perform the physical clearance tasks under an SOP. The verification and final authorization should be done by a qualified person independent of the execution, such as a line supervisor or quality assurance (QA) officer, to ensure objective oversight.
Q3: Is visual inspection enough, or is swab testing always required?
A: Visual inspection is the minimum standard. Swab testing (for chemical or microbiological residue) is required based on a risk assessment. It is common for potent drugs, allergens, or when switching to a product with a very low acceptable carryover limit. The requirement should be defined in your cleaning validation protocol.
Q4: What are the consequences of poor or skipped line clearance?
A: Consequences can be severe: product contamination leading to consumer illness, costly batch recalls, regulatory observations (483s) or warning letters, shutdown of production, and lasting damage to brand trust and company reputation.
Q5: Can the process be streamlined for high-frequency changeovers?
A: Absolutely. This is where SMED (Single-Minute Exchange of Die) principles apply. Focus on optimizing equipment design for quick cleaning, pre-staging tools and materials, converting internal setup tasks to external ones, and thorough operator training. Efficient clearance is a key competitive advantage. For more detailed queries, a dedicated FAQs resource can be helpful.